If you are anything like me, you probably find that you can never have enough birthday and thank you cards in your stash. I find it easiest to make cards when I have a specific person in mind to send it to but I have been trying to be more efficient with my crafting time since life is busy! Lately, when I am making one card for someone, I try to make multiples of a similar design so I end up with at least two or three cards. This is a great way to get a couple of extra cards ready since you already have all of your supplies out! There is always an explosion of supplies all over my desk even if I am only making one card… please tell me this is universal and not just a Krystal thing… please?? ?
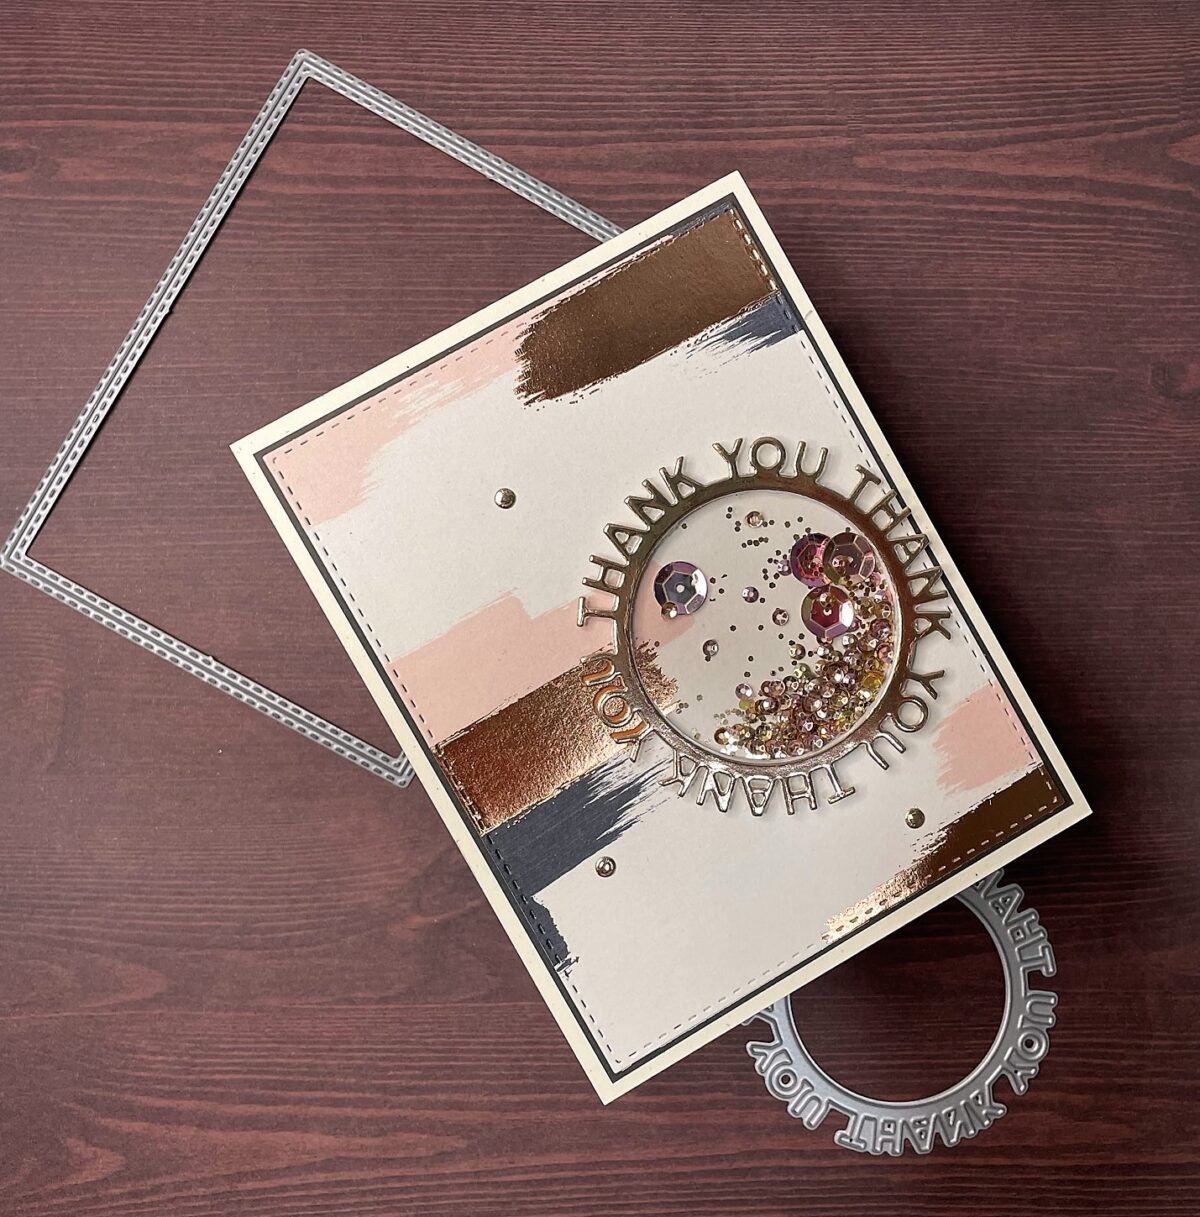
I recently celebrated my birthday and I think we can agree that birthdays aren’t really that exciting as we get older ? I have the most wonderful family and friends though, and they always make me feel special and loved on my birthday. I wanted to create some special thank you cards for them and decided to use the My Favorite Things Thank Circle Frame Die-Namics die (currently unavailable) to create some sparkly shaker cards (have you noticed how much I love shaker cards yet lol?). The empty circle in the middle of this die is perfect for adding a shaker element.
I have the My Favorite Things Circle Shaker Pouches, which work perfectly with the Thank You Circle Frame but I am trying to incorporate my Cricut Maker 3 into more of my cardmaking, especially for repetitive die cuts. The Thank You Circle Frame is too thin to easily use foam tape to build a well for your shaker bits so I measured the die and did a couple of cuts to figure out the best dimensions for the acetate and the rings of cardstock. I used my Cricut to cut several 2.25 inch circles of acetate from a sheet of 12×12 acetate. For the rings, I created two circles, one at 2.25 inches and one at 2 inches, placed them together and centered them, then sliced them to create the perfect sized rings to stack the cardstock and create the shaker well.


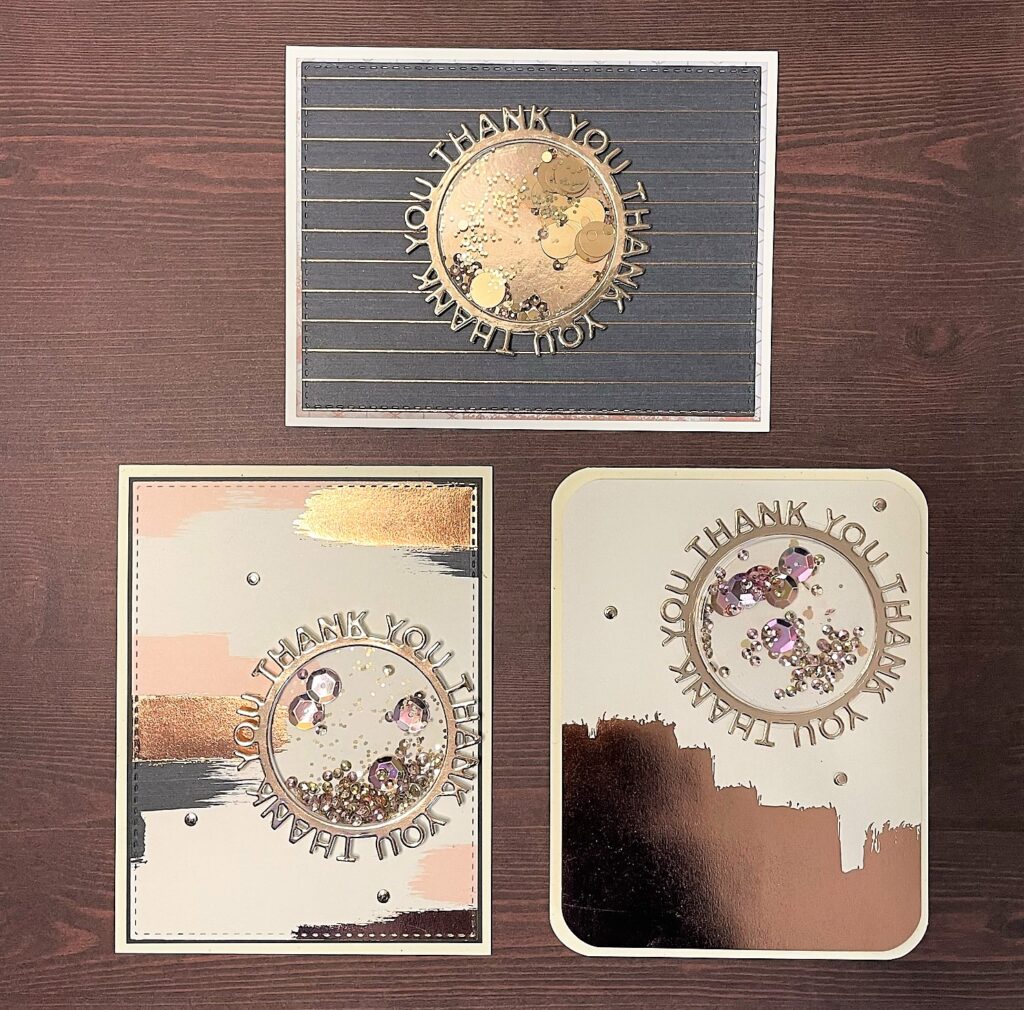
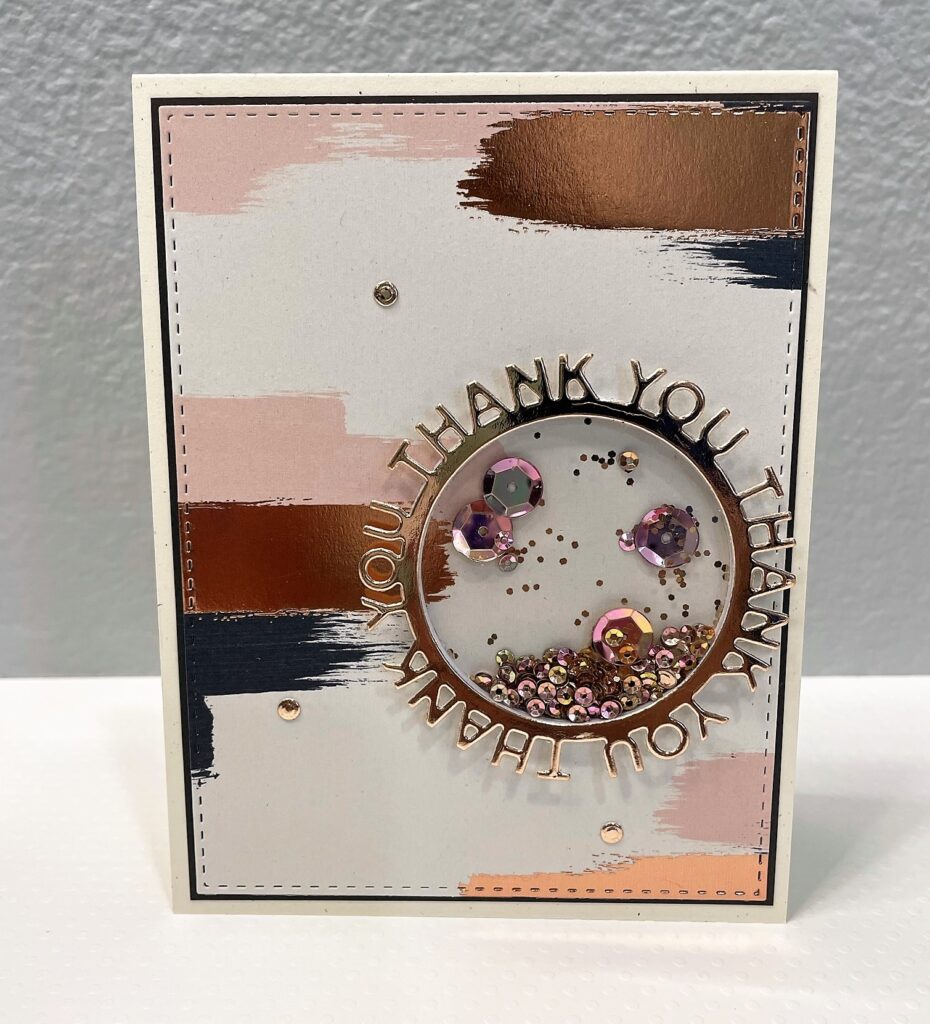
I used some rose gold cardstock from my stash (not sure what brand) to cut out the MFT Thank You Circle Frame and placed it on top of layers of My Mind’s Eye Blush 6×6 Paper Pad (I love this paper pad and will soon run out!) to make three Thank You cards. On two of the cards, I stacked about six layers of the rings to create the shaker well and used Simon Says Stamp Stitched Rectangles to cut out the Blush paper. On the third card, I used the MFT Circle Shaker Pouch for the shaker and then rounded the corners with a Crop-A-Dile Corner Chomper. For the shakers, I used bits from the Sizzix Sequins and Beads, Rose Gold pack.
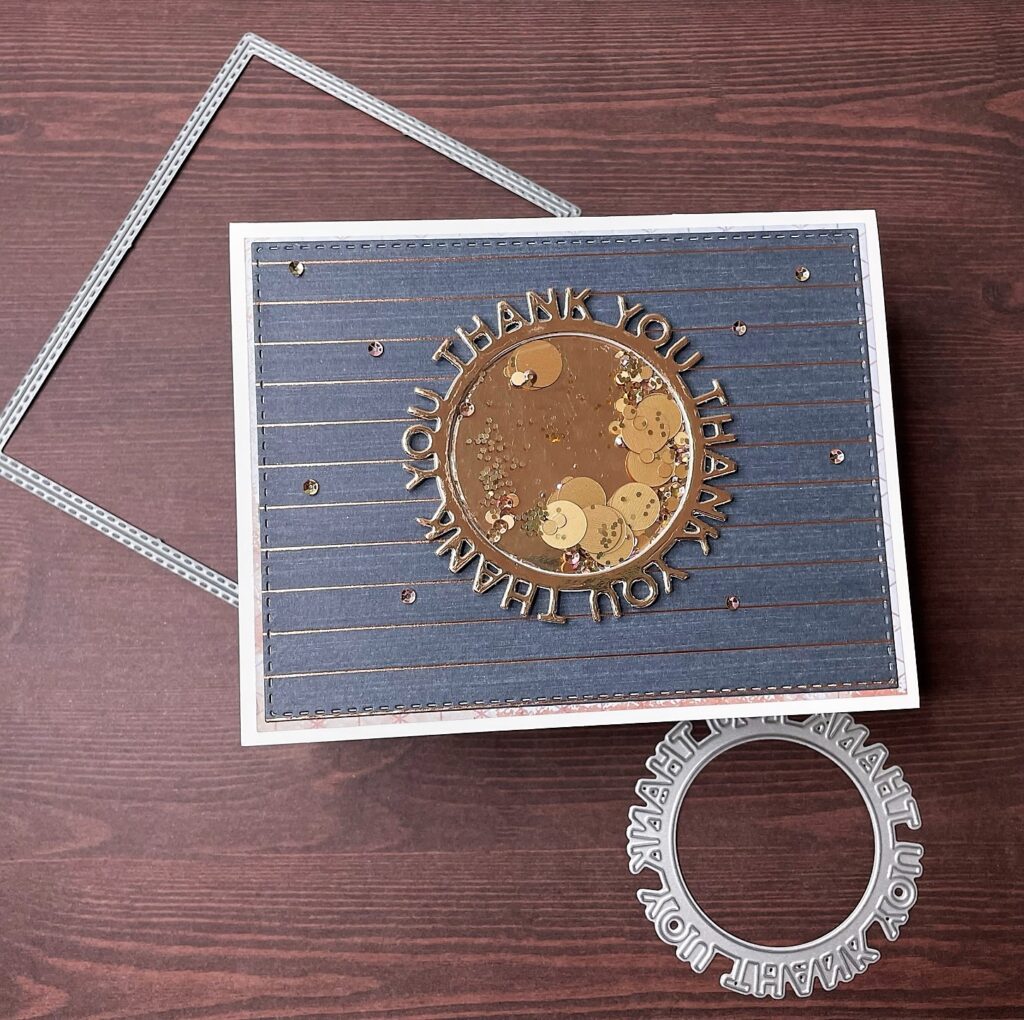
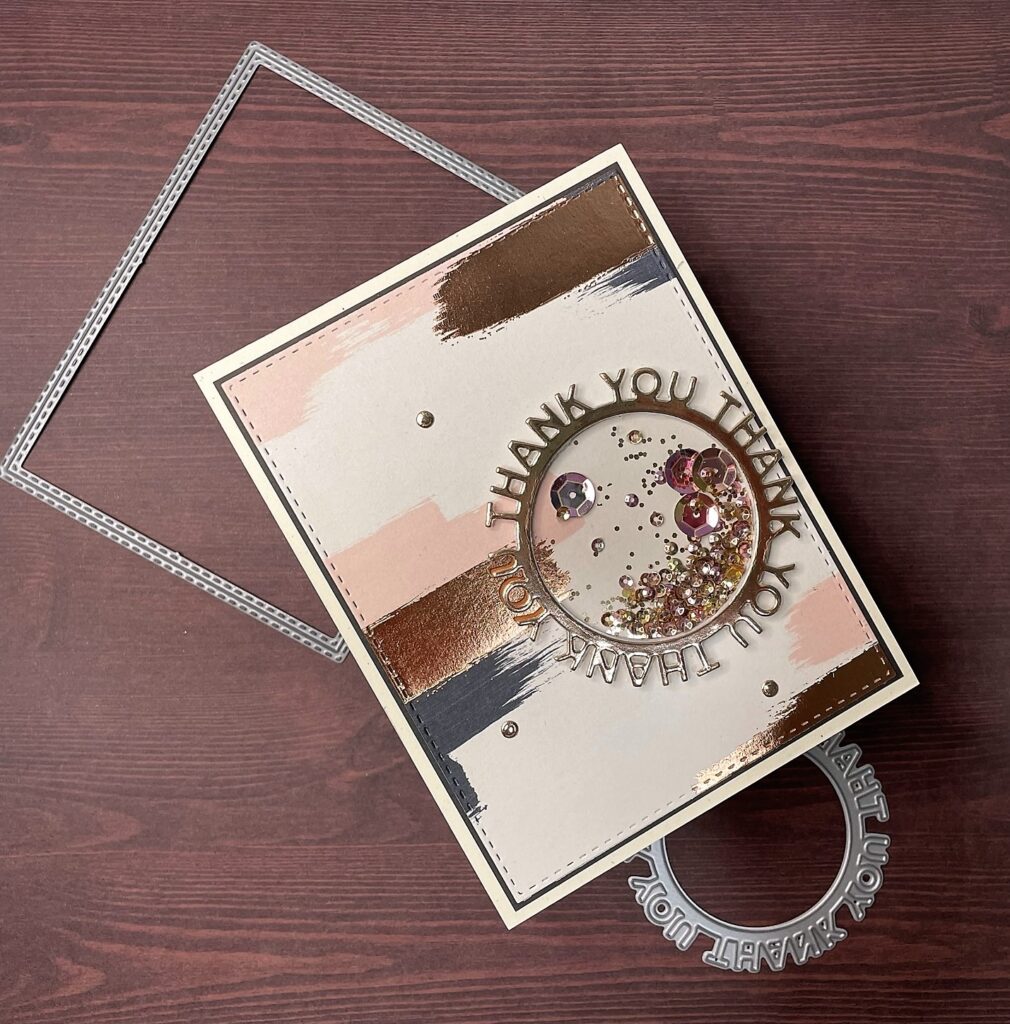
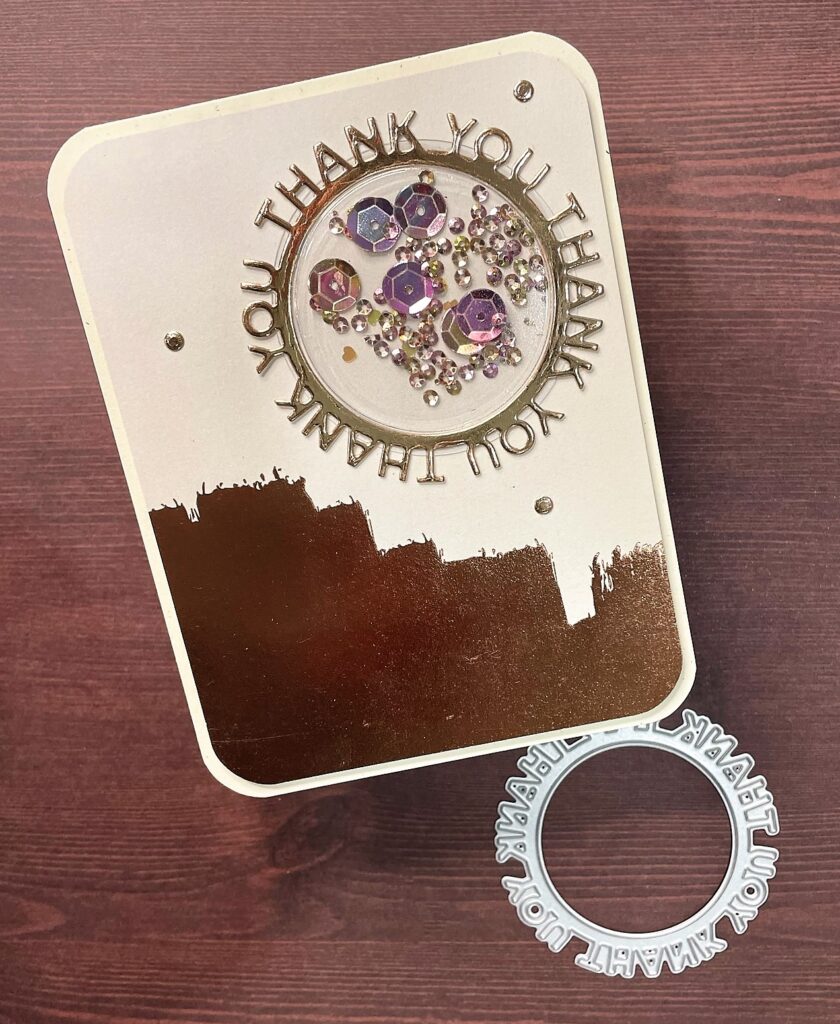
I hope you like these cards, let me know your tips for being more efficient when crafting in the comments below! Thank you!
 Copyright secured by Digiprove © 2022